In the past and UNIX world, people who want aggregate authentication repository always used NIS. Several company and guys still may use NIS now, I heard from some colleague. We UNIX people can use LDAP for centralized authentication. Old days, all of company worker were walking around UNIX sysadmin, but now many of them live in Windows world and uses Active Directory for authentication and UNIX people have to fit them to AD. Thanks to desired samba community, we can use winbind and UNIX server can talk to AD, join itself to AD-forrest and user who is not registered in local authentication can log in UNIX server. I tried to create test environment similar to real world, and confirmed that my Linux box can talk AD server. I will write how-to for other people who want to try. 1. Environment
- Windows Server: I’ve tried Windows Server 2008.
- Linux Box: (also I’ve tried) Scientific Linux 6.0 (x86_64).
- Install Windows Server, create Active Directory repository, and create user account for test
First, I installed Windows Server 2008 into my test box. After I installed Windows Server 2008, I created Active Directory. If you haven’t experienced how to create AD, please see my screenshot below.
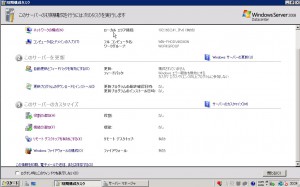
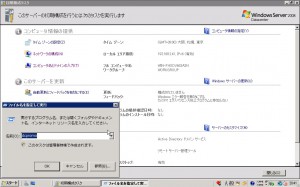
After the installation, you will see the welcome window. Please choose “Add Role” link.
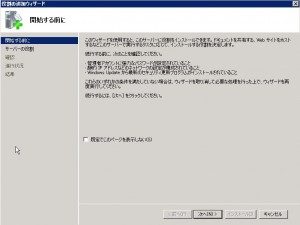
You’ll see welcome window of “Add Role”. Click Next.
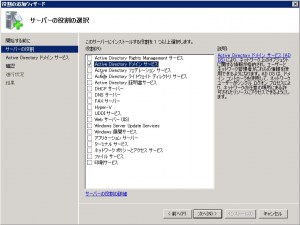
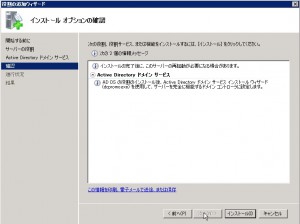
You can choice the role what you want. Choose “Active Directory Domain Service”, and click Next. (You may doubt whether you should also install “DNS Server”. As notification says, you have not to install DNS Server in this time. After the installation of Active Directory Domain Service, you will configure Active Directory forrest. In this configuration, configuration wizard asks whether you install DNS server or not.)
After the installation, you will have to reboot server. After reboot, launch dcpromo.exe.
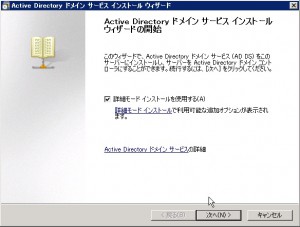
This is welcome window of dcpromo.exe. I’ve chosen “Detailed installation mode”.
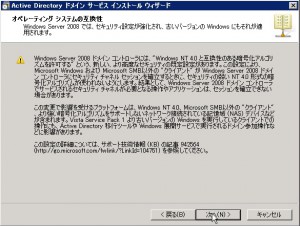
In the Windows world, there is some security setting for contemporary client such as Windows Vista and Windows 7. Unfortunately I have not enough knowledge about these security setting, so I chose “Windows 2003” level of security because I suspect that may sysadmin is now using Windows Server 2003 in the real world…
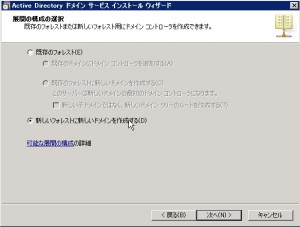
Make new AD-forest.
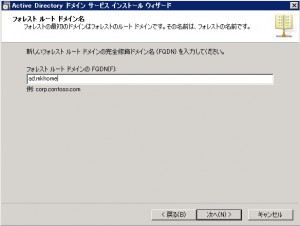
Specify the name for new AD forest. This name will be the part of FQDN. Each hostname under this AD will be ..
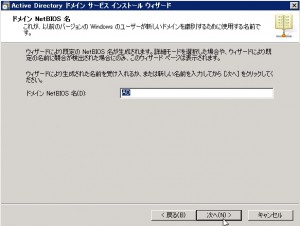
Specify the name for NetBIOS. I don’t know enough knowledge about NetBIOS, but many people says that you should specify same name as forest name.
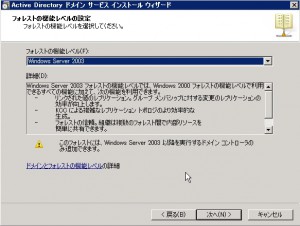
Specify the level of function for this forest. I chose “Windows 2003” as I wrote just before.
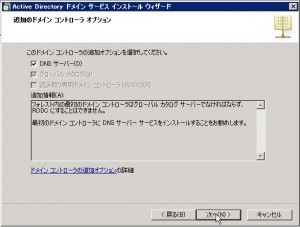
Specify the option for this installation. I chose “DNS Server” because I’ve heard that AD must be worked with DNS. Some guru may know how to work AD without DNS, but I will obey the major myth…
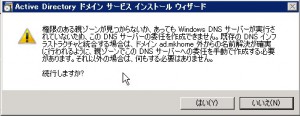
You may see some warning which related to DNS tier. If you have some AD in your network, you may see no warning.
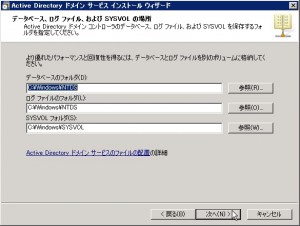
Specify the location for each log. I leaved them default.
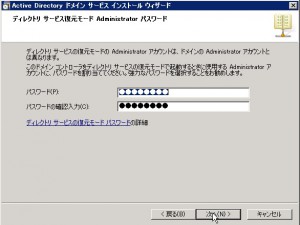
Specify the password for “Directory service recovery mode”. If you want to do without your joy, I recommend not to forget.
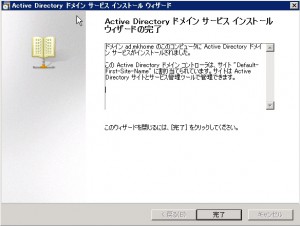
Installation finished. I rebooted at this point. Machine start to work as Active Directory server.
After the reboot, I created user account for testing.
- Install Scientific Linux
As client machine, I installed Scientific Linux 6.0 (x86_64). I included samba packages.
- Create /etc/samba/smb.conf
Edit /etc/samba/smb.conf to suit for Active Directry server. I wrote like this.
[global] workgroup = <NetBIOS’s domain name> password server = realm = security = domain idmap backend = tdb idmap uid = 10000-19999 idmap gid = 10000-19999 idmap config : backend = rid idmap config : range = 20000 - 29999 template shell = /bin/bash winbind use default domain = yes winbind offline logon = false dos charset = CP932 unix charset = UTF-8 display charset = UTF-8 You may add sharing option like this.
[nas] path = /home/nas writable = yes 5. Join Linux box to AD forrest
Now, You can join your linux client to Active Directory forest. Issue this command.
net ads join -U Administrator password: <Domain Administrator’s password> You may experience that net command failed to add client’s host name to DNS service. When you experienced, you should add your linux client to DNS manually.
- test authentication and see shared file system
You can access shared file system which linux client serves. When you asked user name and password, try them which you’ve set to AD. If everything goes good, you will see shared file system.
- using AD authentication for SSH
In addition to share file system, you can use user name and password which you’ve set to AD to some other authentication such as ssh.
First, you have to install winbindd.
yum -y install samba-winbind Next, modify /etc/nsswitch.conf
passwd: files winbind shadow: files winbind group: files winbind Finally, start winbindd service.







 I’m using a few hosts for my joy. I can also log into these hosts from outside of my home via Internet. This is very useful ! I only uses SSH for my safety and other port have been closed, so many of threat is shut out. But many brute-force attackers try to log into my server via SSH day by day. This useless trial is very noisy. Many of them feels so same like me. So, let me write about denyhosts.