Archive: 2012

MCC Smart Nexus 7 install

My MCC Smart is 450 and it lacks contemporary feature such as navigation and ipod integration. We can use android navigation today, so I’ve decide to integrate my Nexus 7 into my MCC Smart.

Here is old installation using existing iPad mount kit, but this installation eats many space and I cannot move my hand smoothly while driving… And this mount blocks temparature, air conditioning controll switch. So I’m gonna try more smooth integration.

WP_000005

Here is final integration of my job. My selfmaid mount suit perfectly with Smart 2-DIN audio space and not block anything.

CIMG1677

I’ve started from creating tray for Nexus 7. I used FRP. First, wrap it with sticky tape.

A79raheCAAAEQrX

Put Nexus 7 face down and put fiber glass on the back. fill glass with FRP resin. Resin will dry in 12 hours.

A79t8MnCcAADxaM

After resin dried, pop Nexus 7 from FRP.

A8gUfSDCQAAr8z6

trim the edge of tray and fill with filler.

A8tsB7qCMAAzgDB

cut existing 1-DIN filler panel in order to take some angle.

A9reVFrCQAIMH_p

adhere FRP tray and 1-DIN filler

A9recoqCUAMfIf1

test fitting and add end-edge which blocks Nexus 7 to slide out from tray.

A9reflgCQAMpSv0

add side wall and take it more thicker.

A-w5Rg5CMAAaaky

take primer and sand to take it smooth. cut tray in order to push power and volume button.

A-2Y4PCCcAMZeOU

take some color.

A-324mXCEAAWeKq

I’ve relocated existing audio unit into bottom of passengers foot rest. I’ve used Belkin’s Aircast Bluetooth receiver which Nexus 7 can send audio to unit.

410

This is final image of my installation.

A-5JsoHCEAE-zN5

Woo. It’s my joy.

Make your own script with systemd

Recent linux system uses systemd instead of SysV init. So you cannot use /etc/rc.local for your housekeeping script with systemd, I’ve tried to migrate my own script with systemd environment. Here is my example which works one time per system startup.

1. make your own script(example: /root/synchome.sh

 1
 2
 3
 4
 5
 6
 7
 8
 9
10
11
12
13
14
15
16
17
18
19
20
21
22
23
24
25
26
27
28
#!/bin/sh
#
# my home directory
#
DAT=`date`
echo "script start $DAT" > /root/log
BKF=`find /mnt/nfs/flyback/flyback -mindepth 1 -maxdepth 1|grep -v lock|sort|tail -1`
# wait until autofs mount is ready
while [ "$BKF" = "" ]; do
   BKF=`find /mnt/nfs/flyback/flyback -mindepth 1 -maxdepth 1|grep -v lock|sort|tail -1`
done
if [ -d $BKF ] ; then
   DIRPRFX="/home/mkiuchi/"
   BKF=$BKF$DIRPRFX
   echo "source directory $BKF" >> /root/log
   rsync -auvz --delete --ignore-errors $BKF $DIRPRFX >> /root/log 2>&1
   # clean chromium lock file
   if [ -L "/home/mkiuchi/.config/chromium/SingletonLock" ]; then
     echo "found chromium lockfile" >> /root/log
     rm -f /home/mkiuchi/.config/chromium/SingletonLock
   fi
else
   echo "backupfile not found. aborted." >> /root/log
   exit
fi

DAT=`date`
echo "script end $DAT" >> /root/log

2. make configuration file for systemd(example: /root/synchome.service)

 1
 2
 3
 4
 5
 6
 7
 8
 9
10
11
12
[Unit]
Description=Home Directory Synchronization
Require=autofs.service
After=autofs.service

[Service]
Type=oneshot
ExecStart=/root/synchome.sh
RemainAfterExit=yes

[Install]
WantedBy=multi-user.target

3. chmod 755 /root/synchome.sh

4. cd /etc/systemd/system ; ln -s /root/synchome.service .

5. systemctl daemon-reload

I cannot determine how to identify the work of systemd, so my own script writes own log.

burn subtitles into movie

just for my memo…

  • download AVIUtil and extracts
  • download VobSub and install (also install AVIUtil plugin)
  • download Ex264GuiEx and install (AVIUtil plugin)
  • ffmpeg extracts movie(picture) track into single file ffmpeg -i inputfile -vcodec copy -an -o outputfile
  • VLC extracts audio track into wav file
  • VSRip extracts IFO into idx+sub
  • AVIUtil for burn idx+sub into movie picture
  • export as h.264 mpeg4 from using AVIUtil

EVs in Yokohama

I’ve walked around the presentations of self-made EVs in yokohama. All of evs are made by small garage company and have aprox 150-200 Ah batteries. Most of evs run up to 150km with fully charged battery. It sound just a little bit poor from the view of ordinaly car trip length(aprox’ 300km), but its mood is chill enough.

replaced the flat tire

Today, I’ve replaced MCC Smart-K flat tire. MCC Smart-K has non-poppular size tire. front: 135/70R15 and Rear: 145/65R15. Especially Continental only suppies 135/70R15 in japan and it costs so expensive ( about $120 per wheel, $480 total ).

I’ve replaced all 4 wheels to Nankang’s 145/65R15 tube-less tire and it costs about $260($50 per wheel). It is cheap sure, and also compies to japanese reguration. It looks still good and feels no strange. Good job, Nankang.

how to refer complex perl variables

just for my memo… Here is sample code.

#!/usr/bin/perl
use Data::Dumper;

my $arg;
$arg = {'first' => 'aaa',
    'second' => 'bbb'};
print Dumper($arg);
print $arg->{'first'} . "\n"; #print 'aaa'

undef($arg);

my $arg;
$arg->{'1'} = {'1-1' => 'value1',
        '1-2' => 'value2'};
$arg->{'2'} = {'2-1' => 'value3',
        '2-2' => 'value4'};
print Dumper($arg);
print $arg->{'1'}->{'1-2'} . "\n"; #print 'value2'
print $arg->{'2'}->{'2-2'} . "\n"; #print 'value4'
print $arg->{'2'}->{'2-3'} . "\n"; #print NULL

Sense temparature and humidity at your home

Long time no see. What’s up ? I’ve been working hard for about a year and have no time to write blog. Here is old story but I’ve not written yet.

You always take some attension about tomorrows weather and current temparature and humidity roughly. “Today is cold”, “Today is dry”, “Today is moist”…and so on. When you know temparature and humidity correctly, your feeling go more clear ? Of course, it gonna be cheap. OK, here is my trial. My budget doesn’t exceed over $200.

I’ve decided to use Strawberry Linux’s USBRH-FG sensor. You can buy it from this URL «http://strawberry-linux.com/catalog/items?code=52002>>. It costs about $50. Here is the photo if USBRH-FG.

I’ve decided to measure outside temparature and humidity, so USBRH should go into outside and should be resistant from rain, wind, and sunlight in order to take correct measure. Here is diagram about my installation. USBRH is installed into weather resistant case and its output is converted into Cat5 cable. It doesn’t mean that output of USBRH is converted to TCP/IP. It’s absolutely USB protocol which runs inside of Cat5 cable. Cat5 cable is also weak against outside weather, so I’ve covered Cat5 cable with ordinary PVC pipe.

I’ve decided to connect my server and USBRH device with USB expander in order to connect between inside of my home and outside. USB cable cannot extend more than 5 meter, so I’ve bought usb expander and connect about 20m between USBRH device and server, and it costs about $60. Here is photo of usb expander.

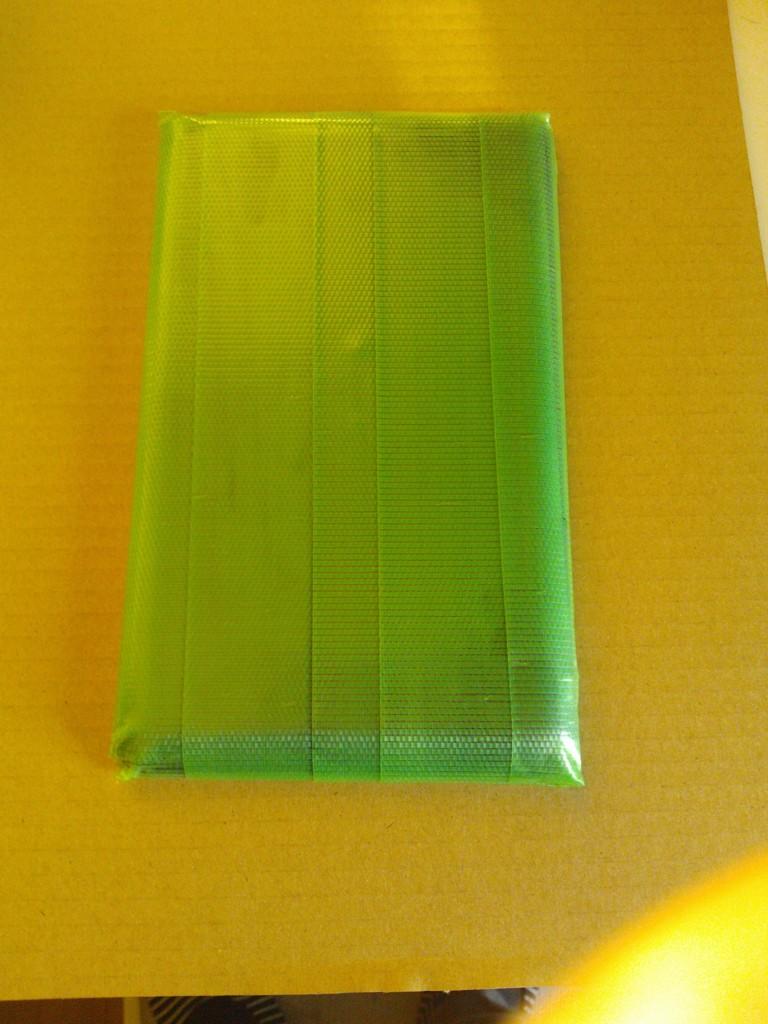
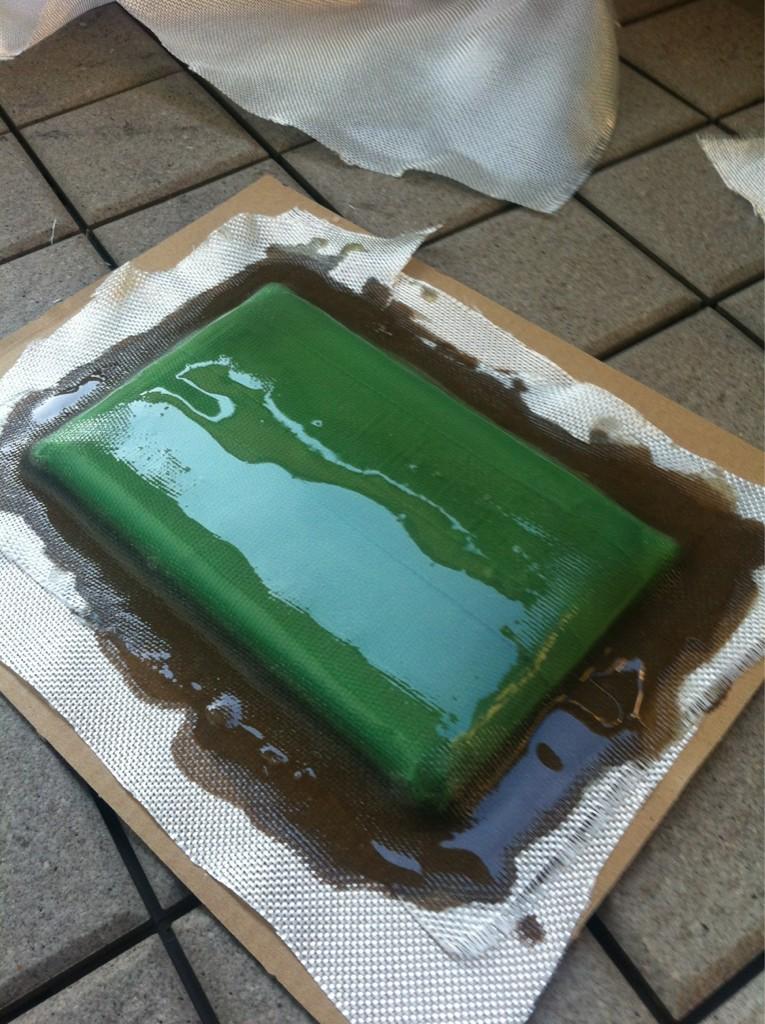
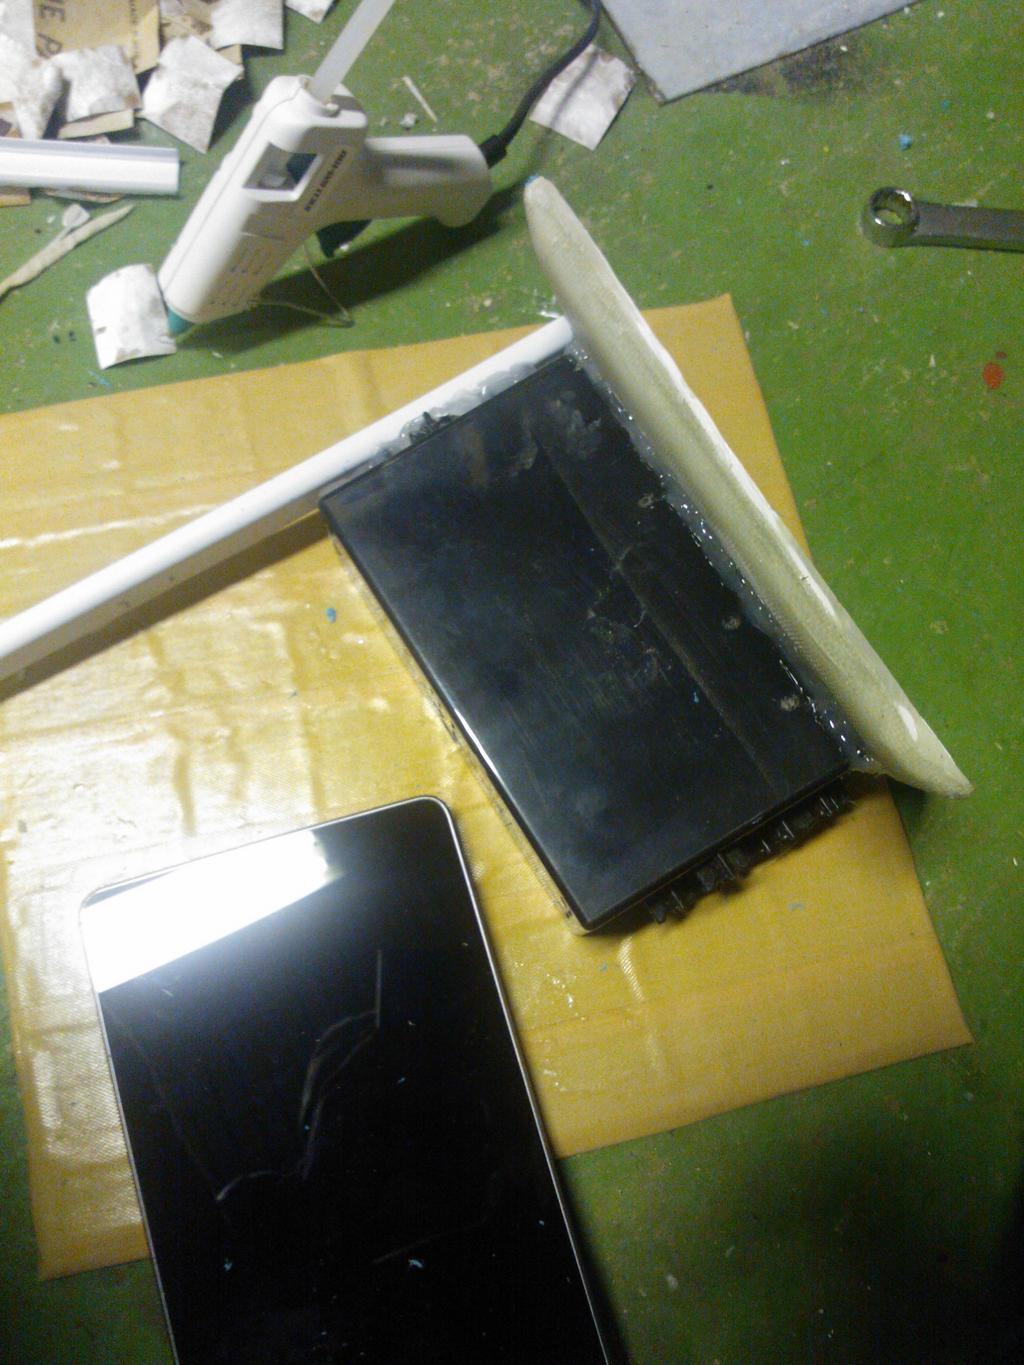
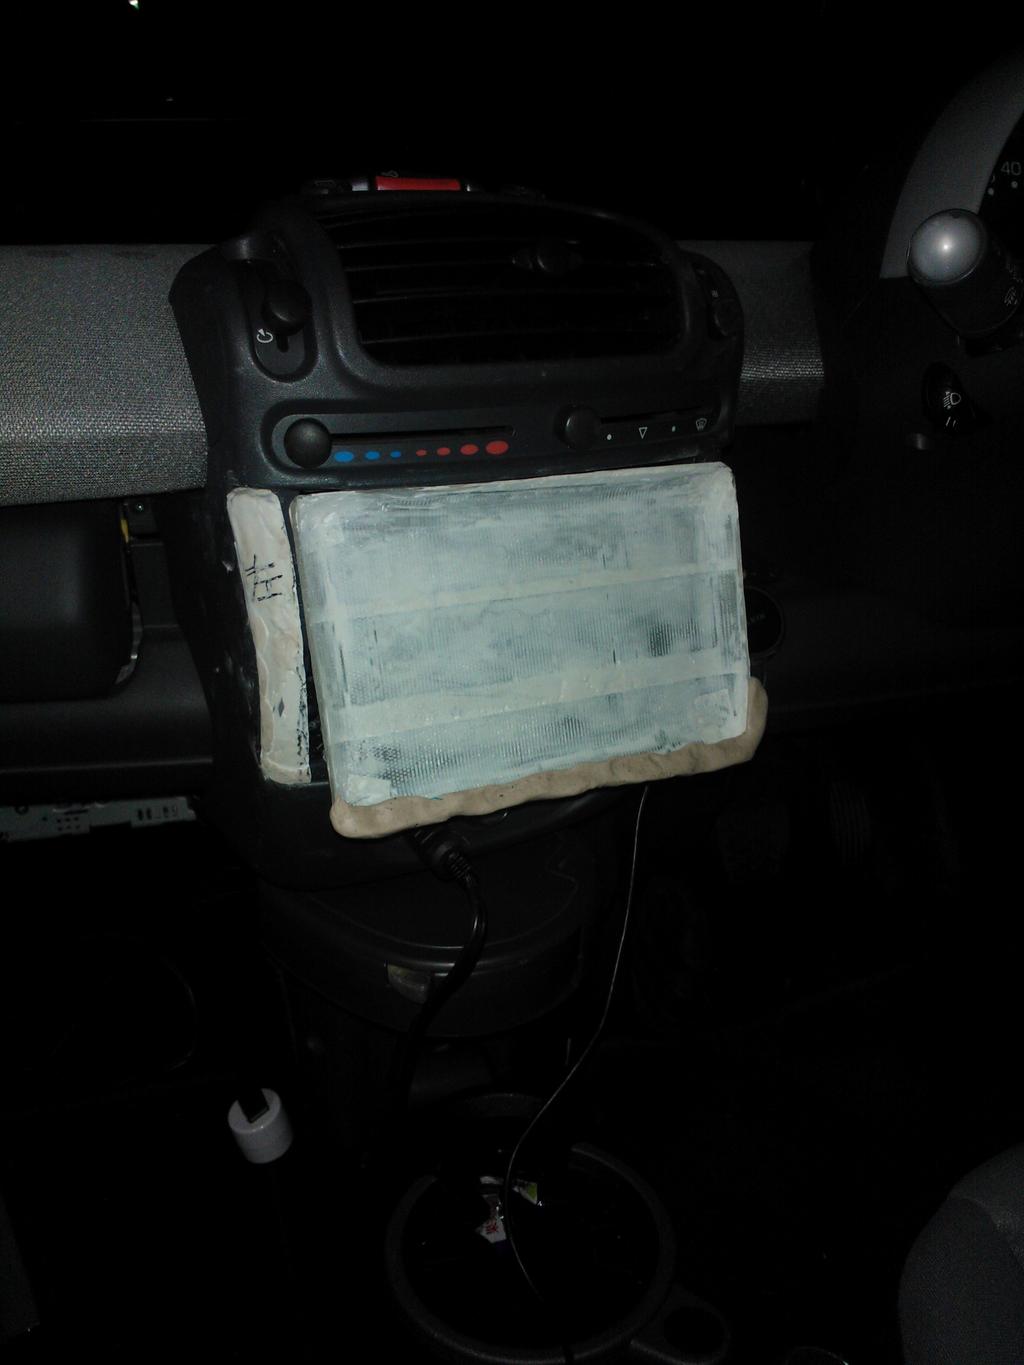
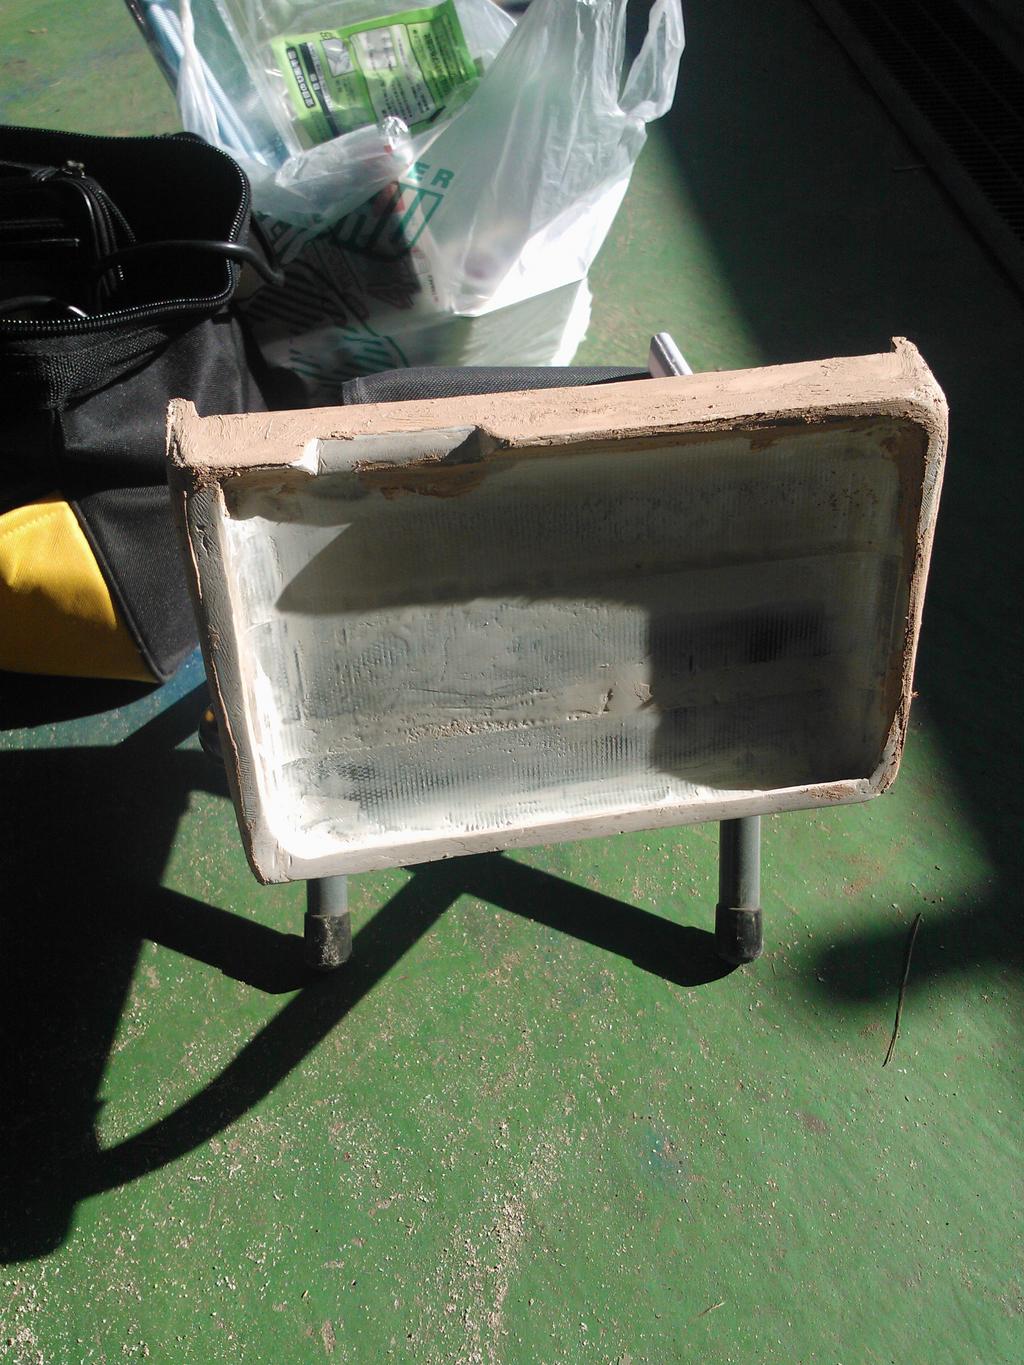
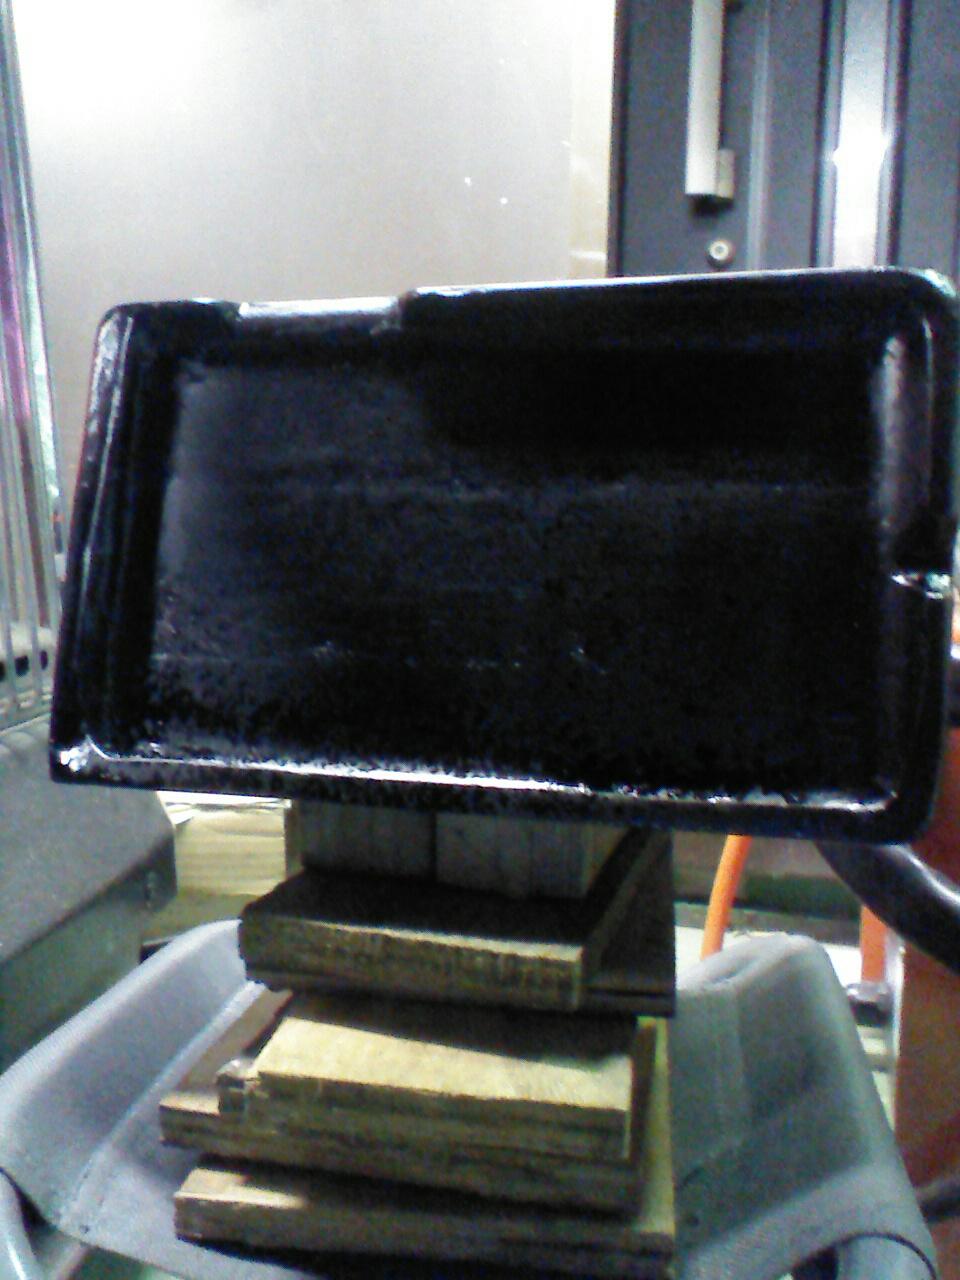
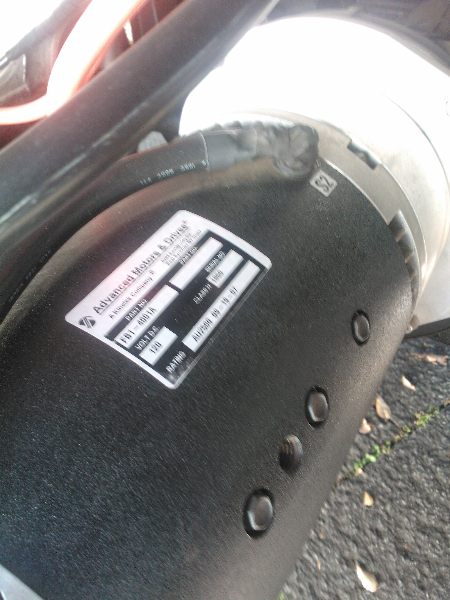
Here is a part of my installation. I’ve bought some weather proof case to be installed at nearest home depot. I’ve set USBRH with some small box and punched some small holes in order for outside air and moisture to go through into box moderately.

OK, here is software turn. I’ve installed USBRH linux driver into my server from here ( http://green-rabbit.sakura.ne.jp/usbrh/ ). It shows current temparature and humidity like this. Unit of temparature is celsius.

# cat /proc/usbrh/0/status
t:23.42 h:67.38

I’ve also installed munin ( http://munin-monitoring.org/ ) in order to store sensed data and see log-term movement of temparature and humidity. I’ve written some plugin for munin to work with USBRH sensor.

#!/bin/sh
# -*- sh -*-

: << =cut

=head1 NAME

Plugin for USBRH - Plugin to measure USBRH device's temparature and humidity. 

=head1 NOTES

Especially the average and max values on the bigger graphs (yearly) can be interesting.

=head1 AUTHOR

Contributed by Mitsutoshi Kiuchi

=head1 LICENSE

GPLv2

=head1 MAGIC MARKERS

 #%# family=auto
 #%# capabilities=autoconf

=cut

. /usr/share/munin/plugins/plugin.sh

MODEL="USBRH"

if [ "$1" = "autoconf" ]; then
    echo yes
    exit 0
fi

if [ "$1" = "config" ]; then

    echo graph_title "$MODEL outside"
    echo 'graph_args --base 1000 -l 0 '
    echo 'graph_scale no'
    echo 'graph_vlabel Celsius'
    echo 'graph_category sensors'
    echo 'usbrht.label temparature'
    echo 'usbrhh.label humidity'
    print_warning load
    print_critical load
    exit 0
fi

TEMP=`cat /proc/usbrh/0/temperature`
RH=`cat /proc/usbrh/0/humidity`
echo "usbrht.value $TEMP"
echo "usbrhh.value $RH"

and, here is sample output.

Wow, it’s good looking.