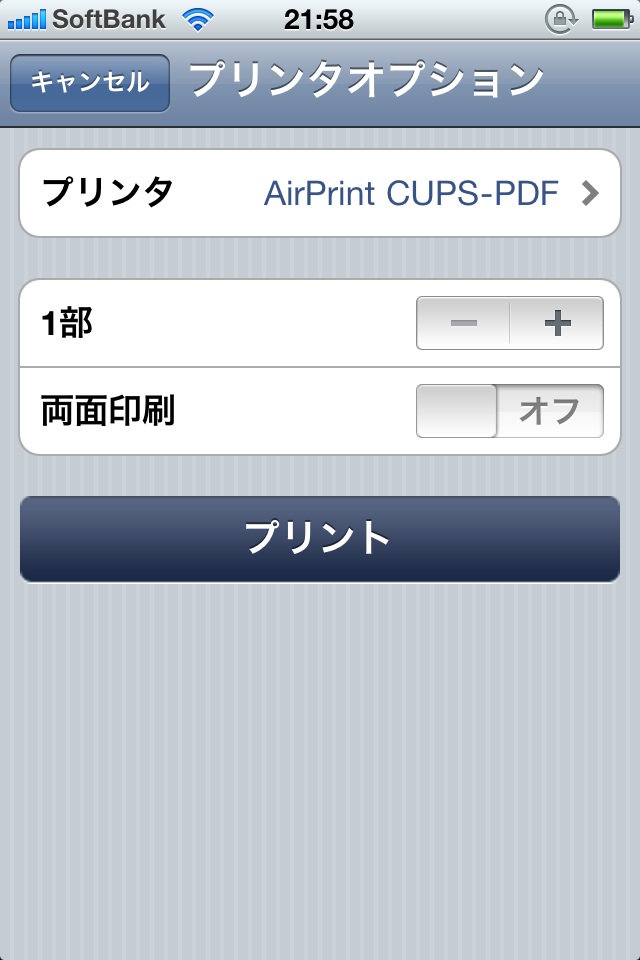
ほぼここ(Ryan Finnie’s Blog: AirPrint and Linux)の邦訳になってしまうけど、やってみて、動いたのでやり方を書く。環境はCentOS5.5。 ### 1. まずcups-pdfをインストールする。
rpm -Uvh http://download.fedora.redhat.com/pub/epel/5/i386/epel-release-5-4.noarch.rpm # yum -y install cups-pdf 後で使うのでavahi-daemonも入ってなかったら入れておく。
2. CUPSサーバをネットワーク共有するようにして、印刷できる所まで確認する
iptables使っている場合は631/tcp, 631/udpを解放してアクセスできるようにする
/etc/cups/cupsd.confを編集して、ローカルホスト以外からアクセスできるようにする。編集箇所は赤字で記述。
# “$Id: cupsd.conf.in 7199 2008-01-08 00:16:30Z mike $” # # Sample configuration file for the Common UNIX Printing System (CUPS) # scheduler. See “man cupsd.conf” for a complete description of this # file. # MaxLogSize 2000000000 # Log general information in error_log - change “info” to “debug” for # troubleshooting… LogLevel info # Administrator user group… SystemGroup sys root # Only listen for connections from the local machine. # Listen localhost:631 Listen saba.mydomain:631 Listen /var/run/cups/cups.sock # Show shared printers on the local network. Browsing On BrowseOrder allow,deny # (Change ‘@LOCAL’ to ‘ALL’ if using directed broadcasts from another subnet.) BrowseAllow @LOCAL # Default authentication type, when authentication is required… DefaultAuthType Basic # Restrict access to the server… Order allow,deny Allow 192.168.1.0/24 # Restrict access to the admin pages… <Location /admin> Encryption Required Order allow,deny Allow 192.168.1.0/24 # Restrict access to configuration files… <Location /admin/conf> AuthType Default Require user @SYSTEM Order allow,deny Allow 192.168.1.0/24 できたらcupsを動かして、管理ページが見えるか確認。
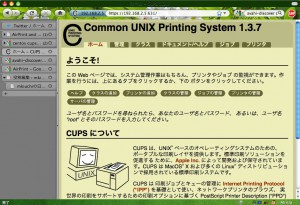
chkconfig cups on # service cups start http://saba.mydomain:631/をブラウザで開いて、以下のような管理ページが見えればOK。
ターミナルに戻って、CUPS管理ページが使うSSL証明書を作成する。どうも本来は自動的に作成されるみたいだけど、CentOSのデフォルトでは作成しようとしてハングアップしてしまうみたい。ここを参照して、以下のような感じに作成した。
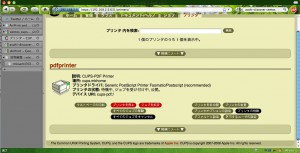
openssl req -new -x509 -keyout /etc/cups/ssl/server.key -out /etc/cups/ssl/server.crt -days 365 -nodes -config /etc/pki/tls/openssl.cnf Generating a 1024 bit RSA private key ..++++++ ………………..++++++ writing new private key to ‘/etc/cups/ssl/server.key’ —– You are about to be asked to enter information that will be incorporated into your certificate request. What you are about to enter is what is called a Distinguished Name or a DN. There are quite a few fields but you can leave some blank For some fields there will be a default value, If you enter ‘.’, the field will be left blank. —– Country Name (2 letter code) [GB]:JP State or Province Name (full name) [Berkshire]:Tongking Locality Name (eg, city) [Newbury]:Setaganya Organization Name (eg, company) [My Company Ltd]:orenocompany Organizational Unit Name (eg, section) []: Common Name (eg, your name or your server’s hostname) []:saba.mydomain Email Address []:root@saba.mydomain 再度ブラウザに戻って、プリンタを作成していなければ作成する。最終的に以下のような感じになっていればいいと思う。デフォルトプリンタにするかどうかは関係ないっぽい。
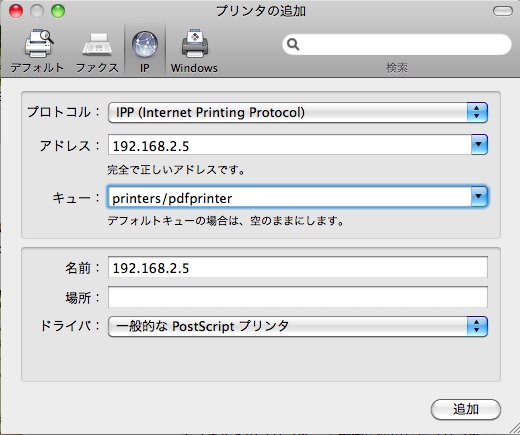
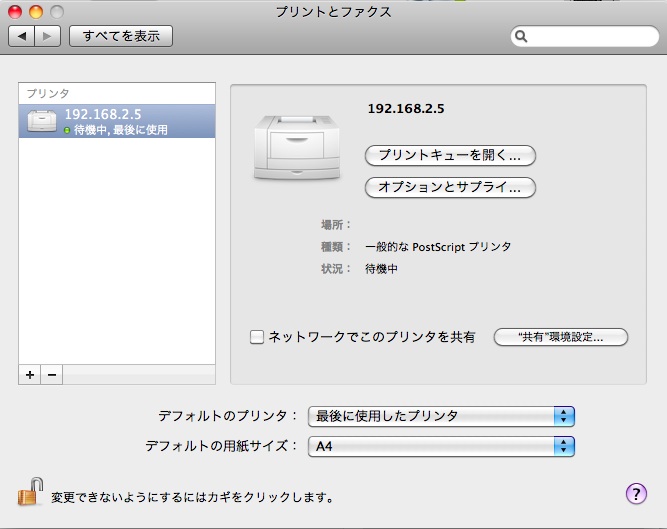
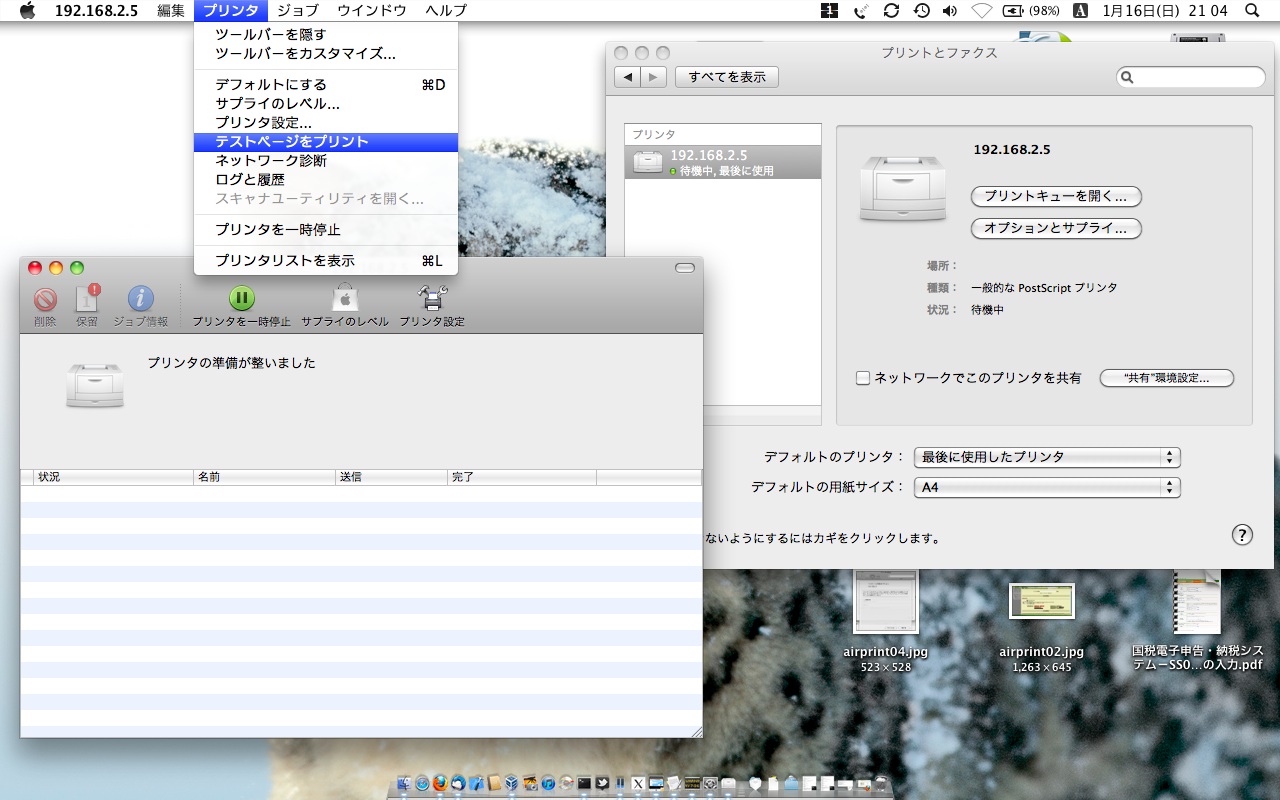
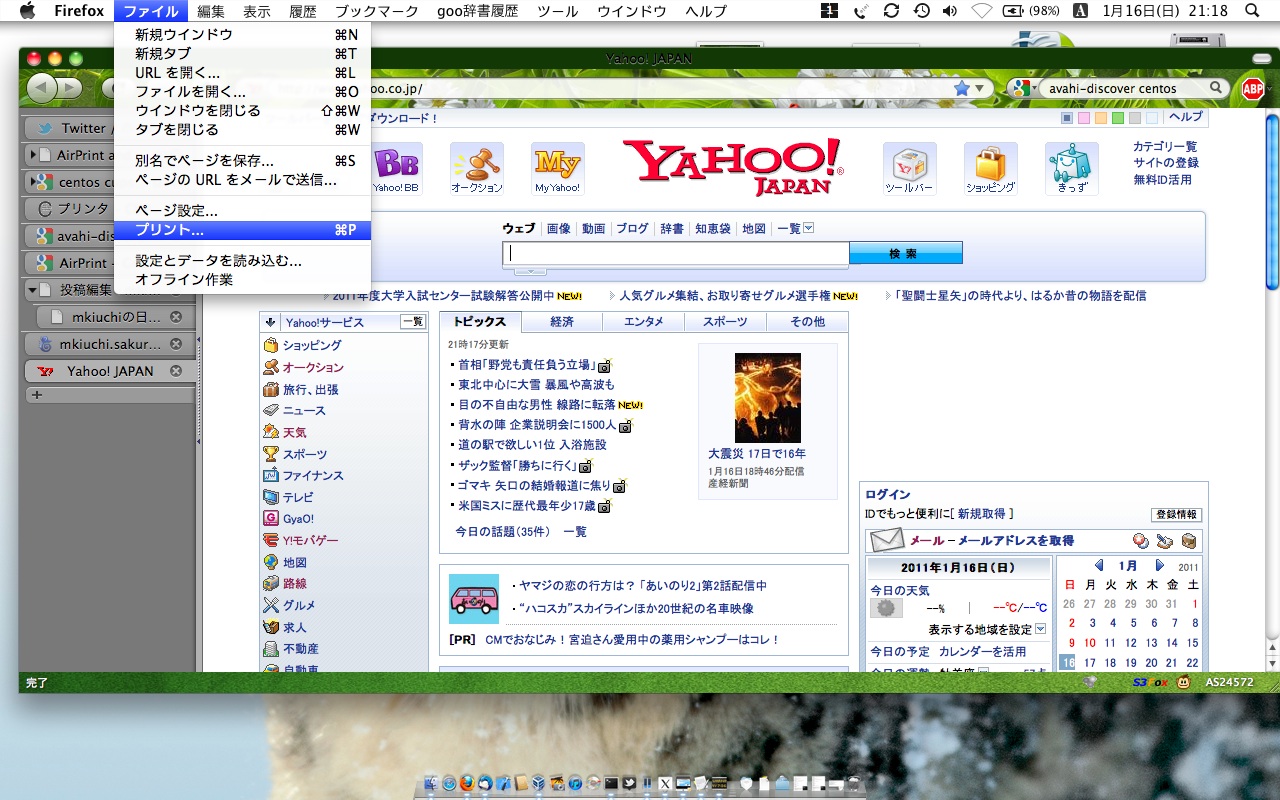
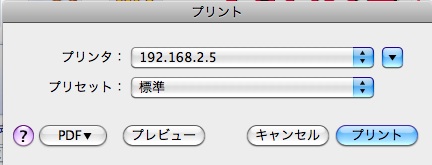
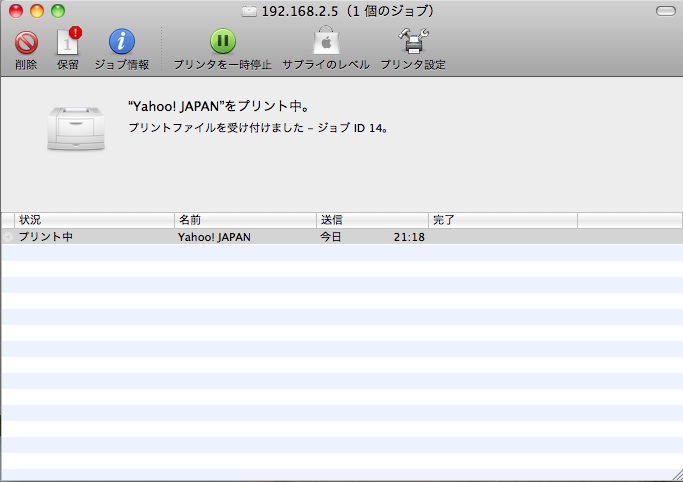
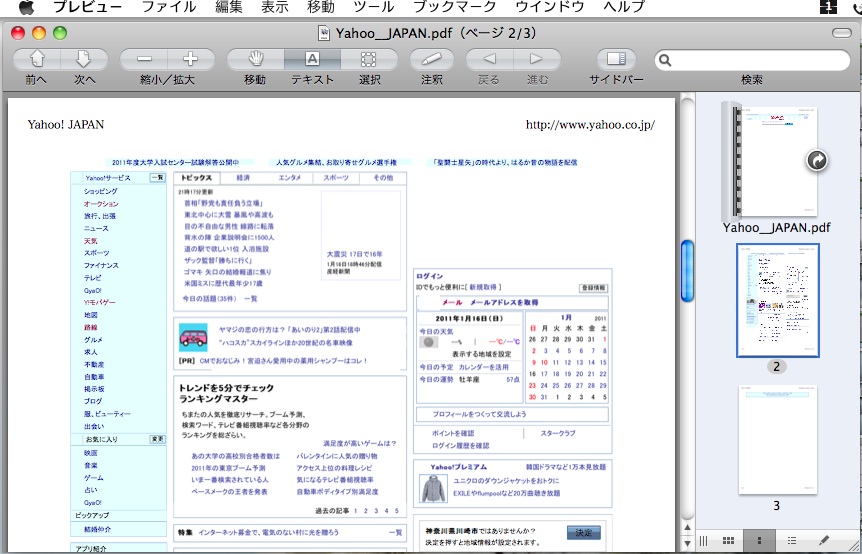
ここまでできたら他のPCから印刷できるかどうか確認する。ここではMac(Mac OS X 10.6.6)を使った。
3. AirPrint対応のプリンタを作成する
ここまででCUPSで作成したプリンタをPCで共有できるようになったので、そのプリンタをiPhoneのAirPrint対応にする。
AirPrintはマルチキャストDNS(mDNS。BonjourとかAvahiとか)でプリンタを発見するようだ。CUPSもAvahi経由でmDNS経由でプリンタとして見えてはいるが、そのままではAirPrintが見つけてくれないので、若干設定を追加してやる必要がある。
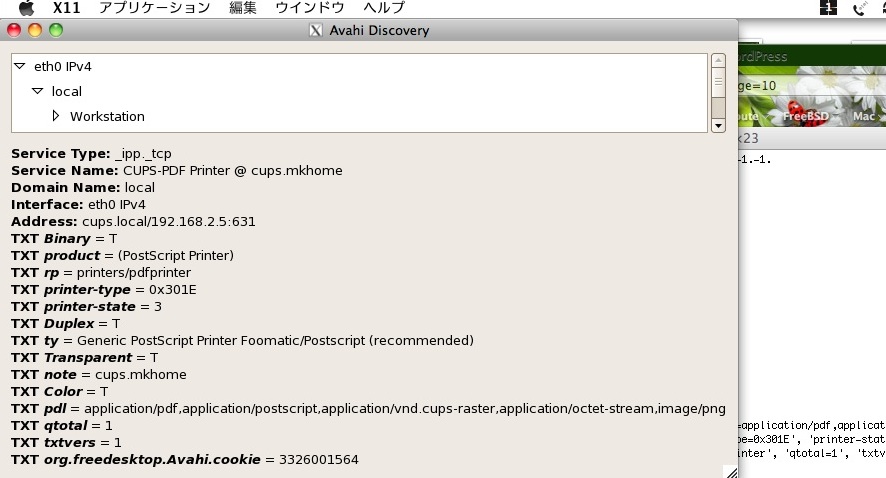
まずはmDNSで見えるプリンタの情報を取得するために、avahi-discoverを使う。CentOSの場合はavahi-toolsを入れれば使えるようになる。
yum -y install avahi-tools で、avahi-discoverを起動する。Xのウィンドウが出てくる。
avahi-discover 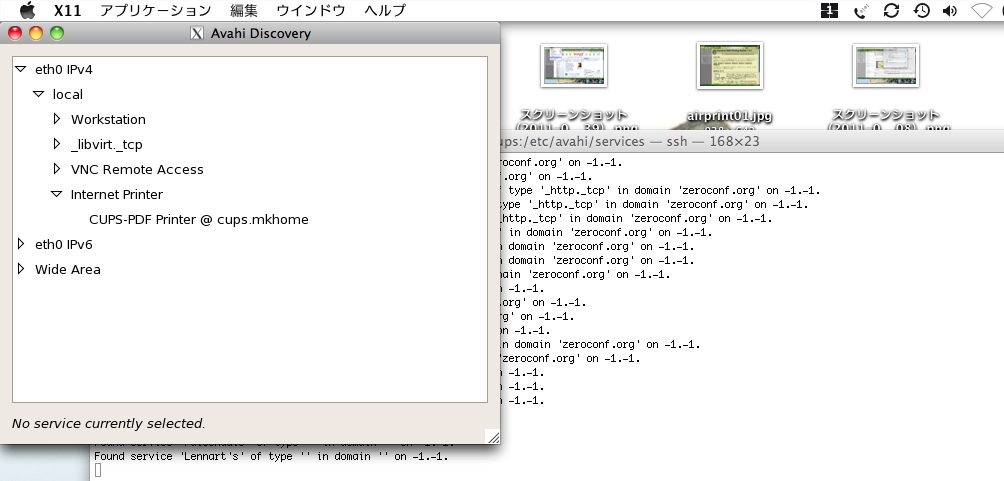
eth0 IPv4 -> local -> Internet Printer の下に、作成したプリンタがある。これをクリックする。
表示が変わるが、これだと後で加工しにくいので、ターミナルに出ている文字の方を使う。以下のような感じ。(適宜改行を入れてます)
Service data for service ‘CUPS-PDF Printer @ saba.mydomain’ of type ‘_ipp._tcp’ in domain ’local’ on 2.0: Host cups.local (192.168.2.5), port 631, TXT data: [ ‘org.freedesktop.Avahi.cookie=3326001564’, ‘pdl=application/pdf,application/postscript,application/vnd.cups-raster,application/octet-stream,image/png’, ‘Duplex=T’, ‘Color=T’, ‘Binary=T’, ‘Transparent=T’, ‘printer-type=0x301E’, ‘printer-state=3’, ‘product=(PostScript Printer)’, ’note=saba.mydomain’, ’ty=Generic PostScript Printer Foomatic/Postscript (recommended)’, ‘rp=printers/pdfprinter’, ‘qtotal=1’, ’txtvers=1’] 上記の出力を参考にして、/etc/avahi/services/<名前>.serviceを作る。<名前>の部分はなんでもいい。以下のような感じ。
注意点としては
- txt-recordを書く順番はavahi-discoverの出力順の逆
- txt-recordの最後にURF=noneを入れる
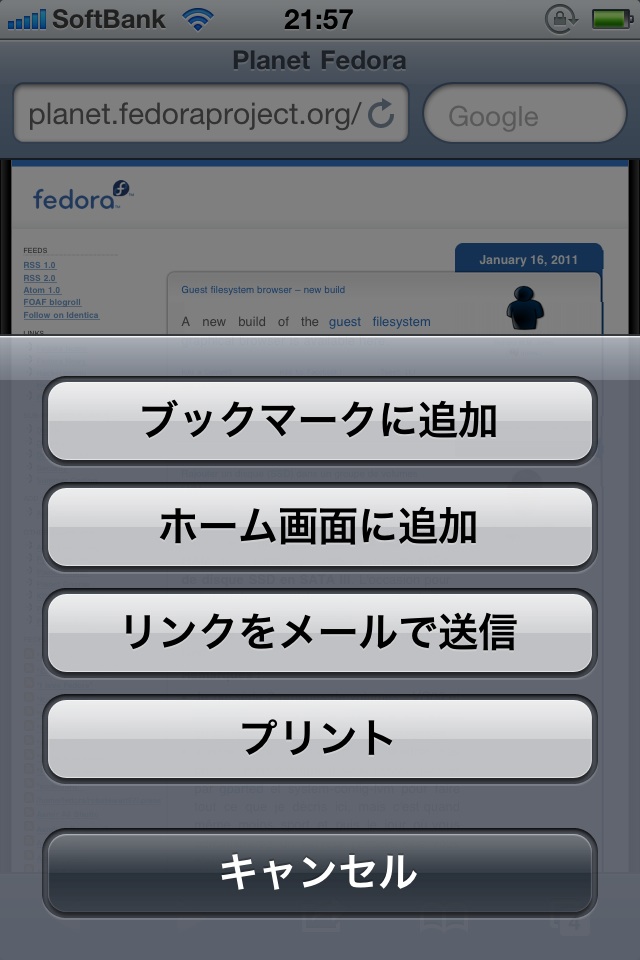
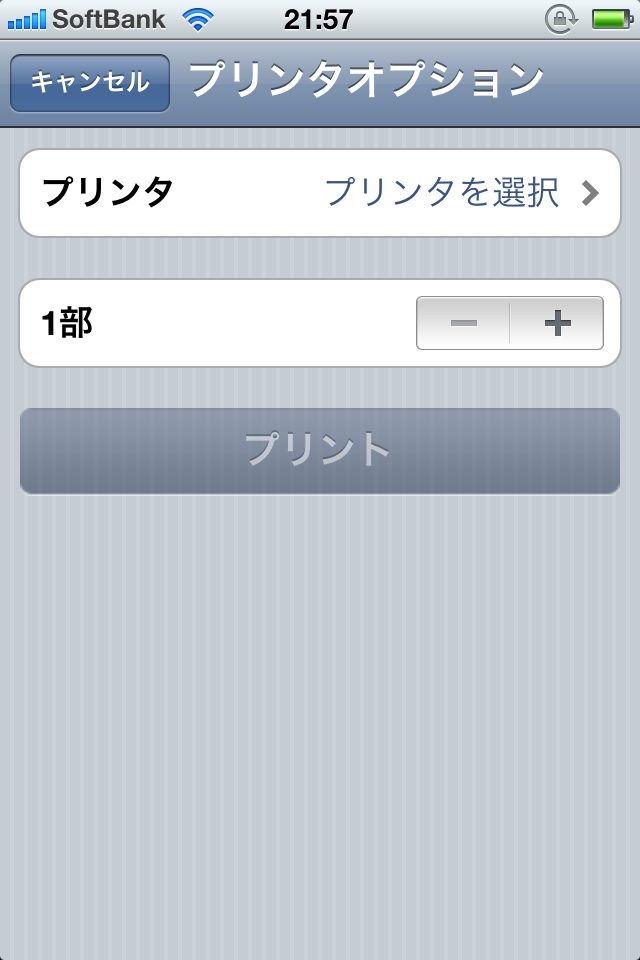
service avahi-daemon restart そうしたらiPhoneからプリンタが見えてるかどうか確認して、印刷!
Enjoy!
