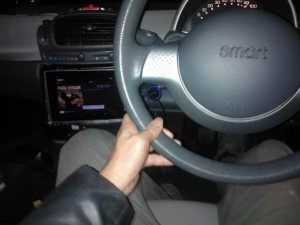
My MCC Smart is 450 and it lacks contemporary feature such as navigation and ipod integration. We can use android navigation today, so I’ve decide to integrate my Nexus 7 into my MCC Smart.
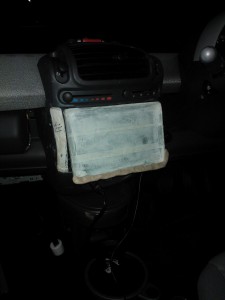
Here is old installation using existing iPad mount kit, but this installation eats many space and I cannot move my hand smoothly while driving… And this mount blocks temparature, air conditioning controll switch. So I’m gonna try more smooth integration.
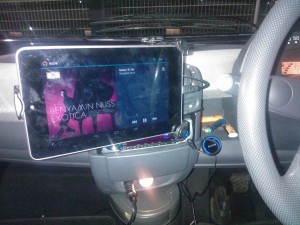
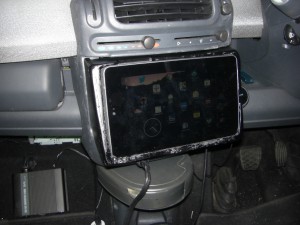
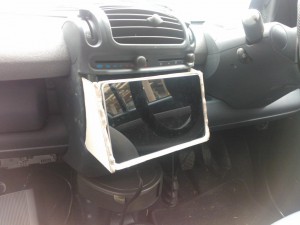
Here is final integration of my job. My selfmaid mount suit perfectly with Smart 2-DIN audio space and not block anything.
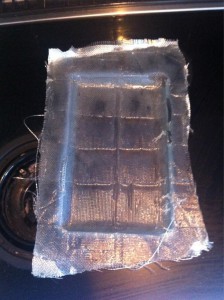
I’ve started from creating tray for Nexus 7. I used FRP. First, wrap it with sticky tape.
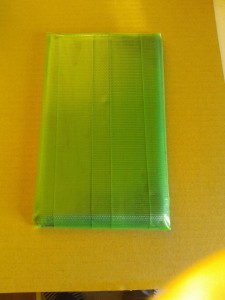
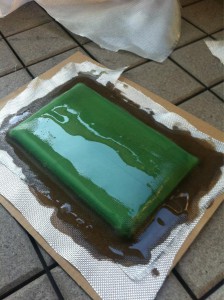
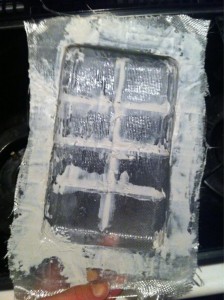
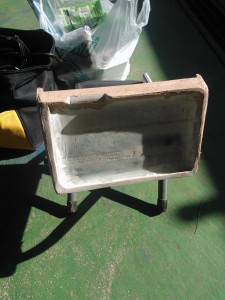
Put Nexus 7 face down and put fiber glass on the back. fill glass with FRP resin. Resin will dry in 12 hours.
After resin dried, pop Nexus 7 from FRP.
trim the edge of tray and fill with filler.
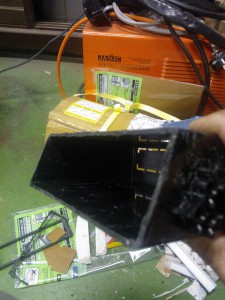
cut existing 1-DIN filler panel in order to take some angle.
adhere FRP tray and 1-DIN filler
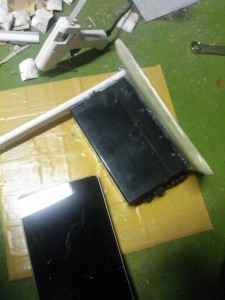
test fitting and add end-edge which blocks Nexus 7 to slide out from tray.
add side wall and take it more thicker.
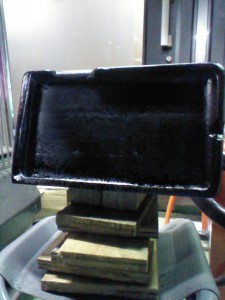
take primer and sand to take it smooth. cut tray in order to push power and volume button.
take some color.
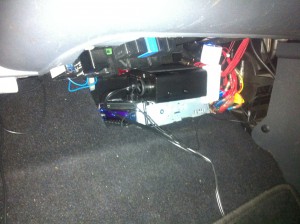
I’ve relocated existing audio unit into bottom of passengers foot rest. I’ve used Belkin’s Aircast Bluetooth receiver which Nexus 7 can send audio to unit.
This is final image of my installation.
Woo. It’s my joy.
